It’s almost fall, so I thought it would be the perfect time to share a quick and easy project with you!
How to make a dried flower bud vase arrangement.
Bud vase arrangements are so easy to make. And, I think they are a great way to freshen up a space for the new season. I also love to use them to quickly decorate a space for a dinner party, birthday, wedding or get together with friends.
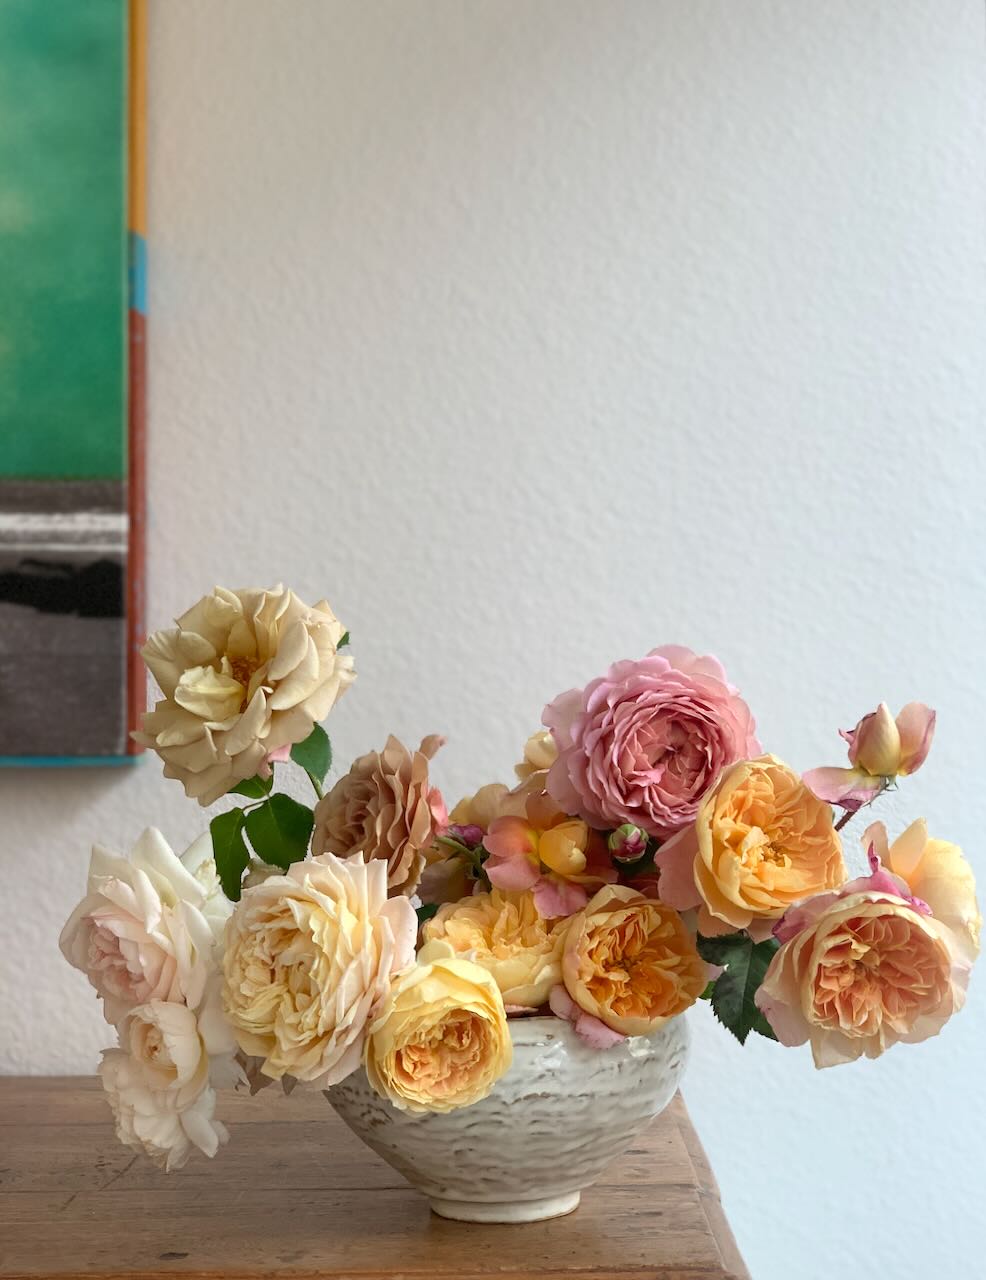
You can use any type of vase, jar or container to make a bud vase arrangement. And you can make them with either fresh or dried flowers, or a mix of both.
Read on for some of my favorite containers to use and a few tips and tricks to make your bud vase arrangements stand out from the rest.

Step 1 – choose your vase/vessel
This is definitely my favorite part since there are so many different options you can use for a bud vase arrangement! And, many of these options you can find lying around the house. Below are just a few ideas I wanted to share. But, get creative, you can use any type of vessel or container that will hold a few stems.
- 1. ceramic vase
- 2. vintage glass vase
- 3. tomato can
- 4. jelly or salsa jar
- 5. mason jar
- 6. terracotta cup
- 7. modern clear glass vase
- 8. oil and vinegar bottle
- 9. soda bottle
- 10. old milk or juice bottle
These are just a few of my favorites, make sure to let me know in the comments section below what yours are.
Step 2 – gather your floral ingredients

Like choosing a vase, the sky is the limit when it comes to floral ingredients! You can use any type of greenery, flower, dried bits or mix them all together to create a bud vase arrangement.
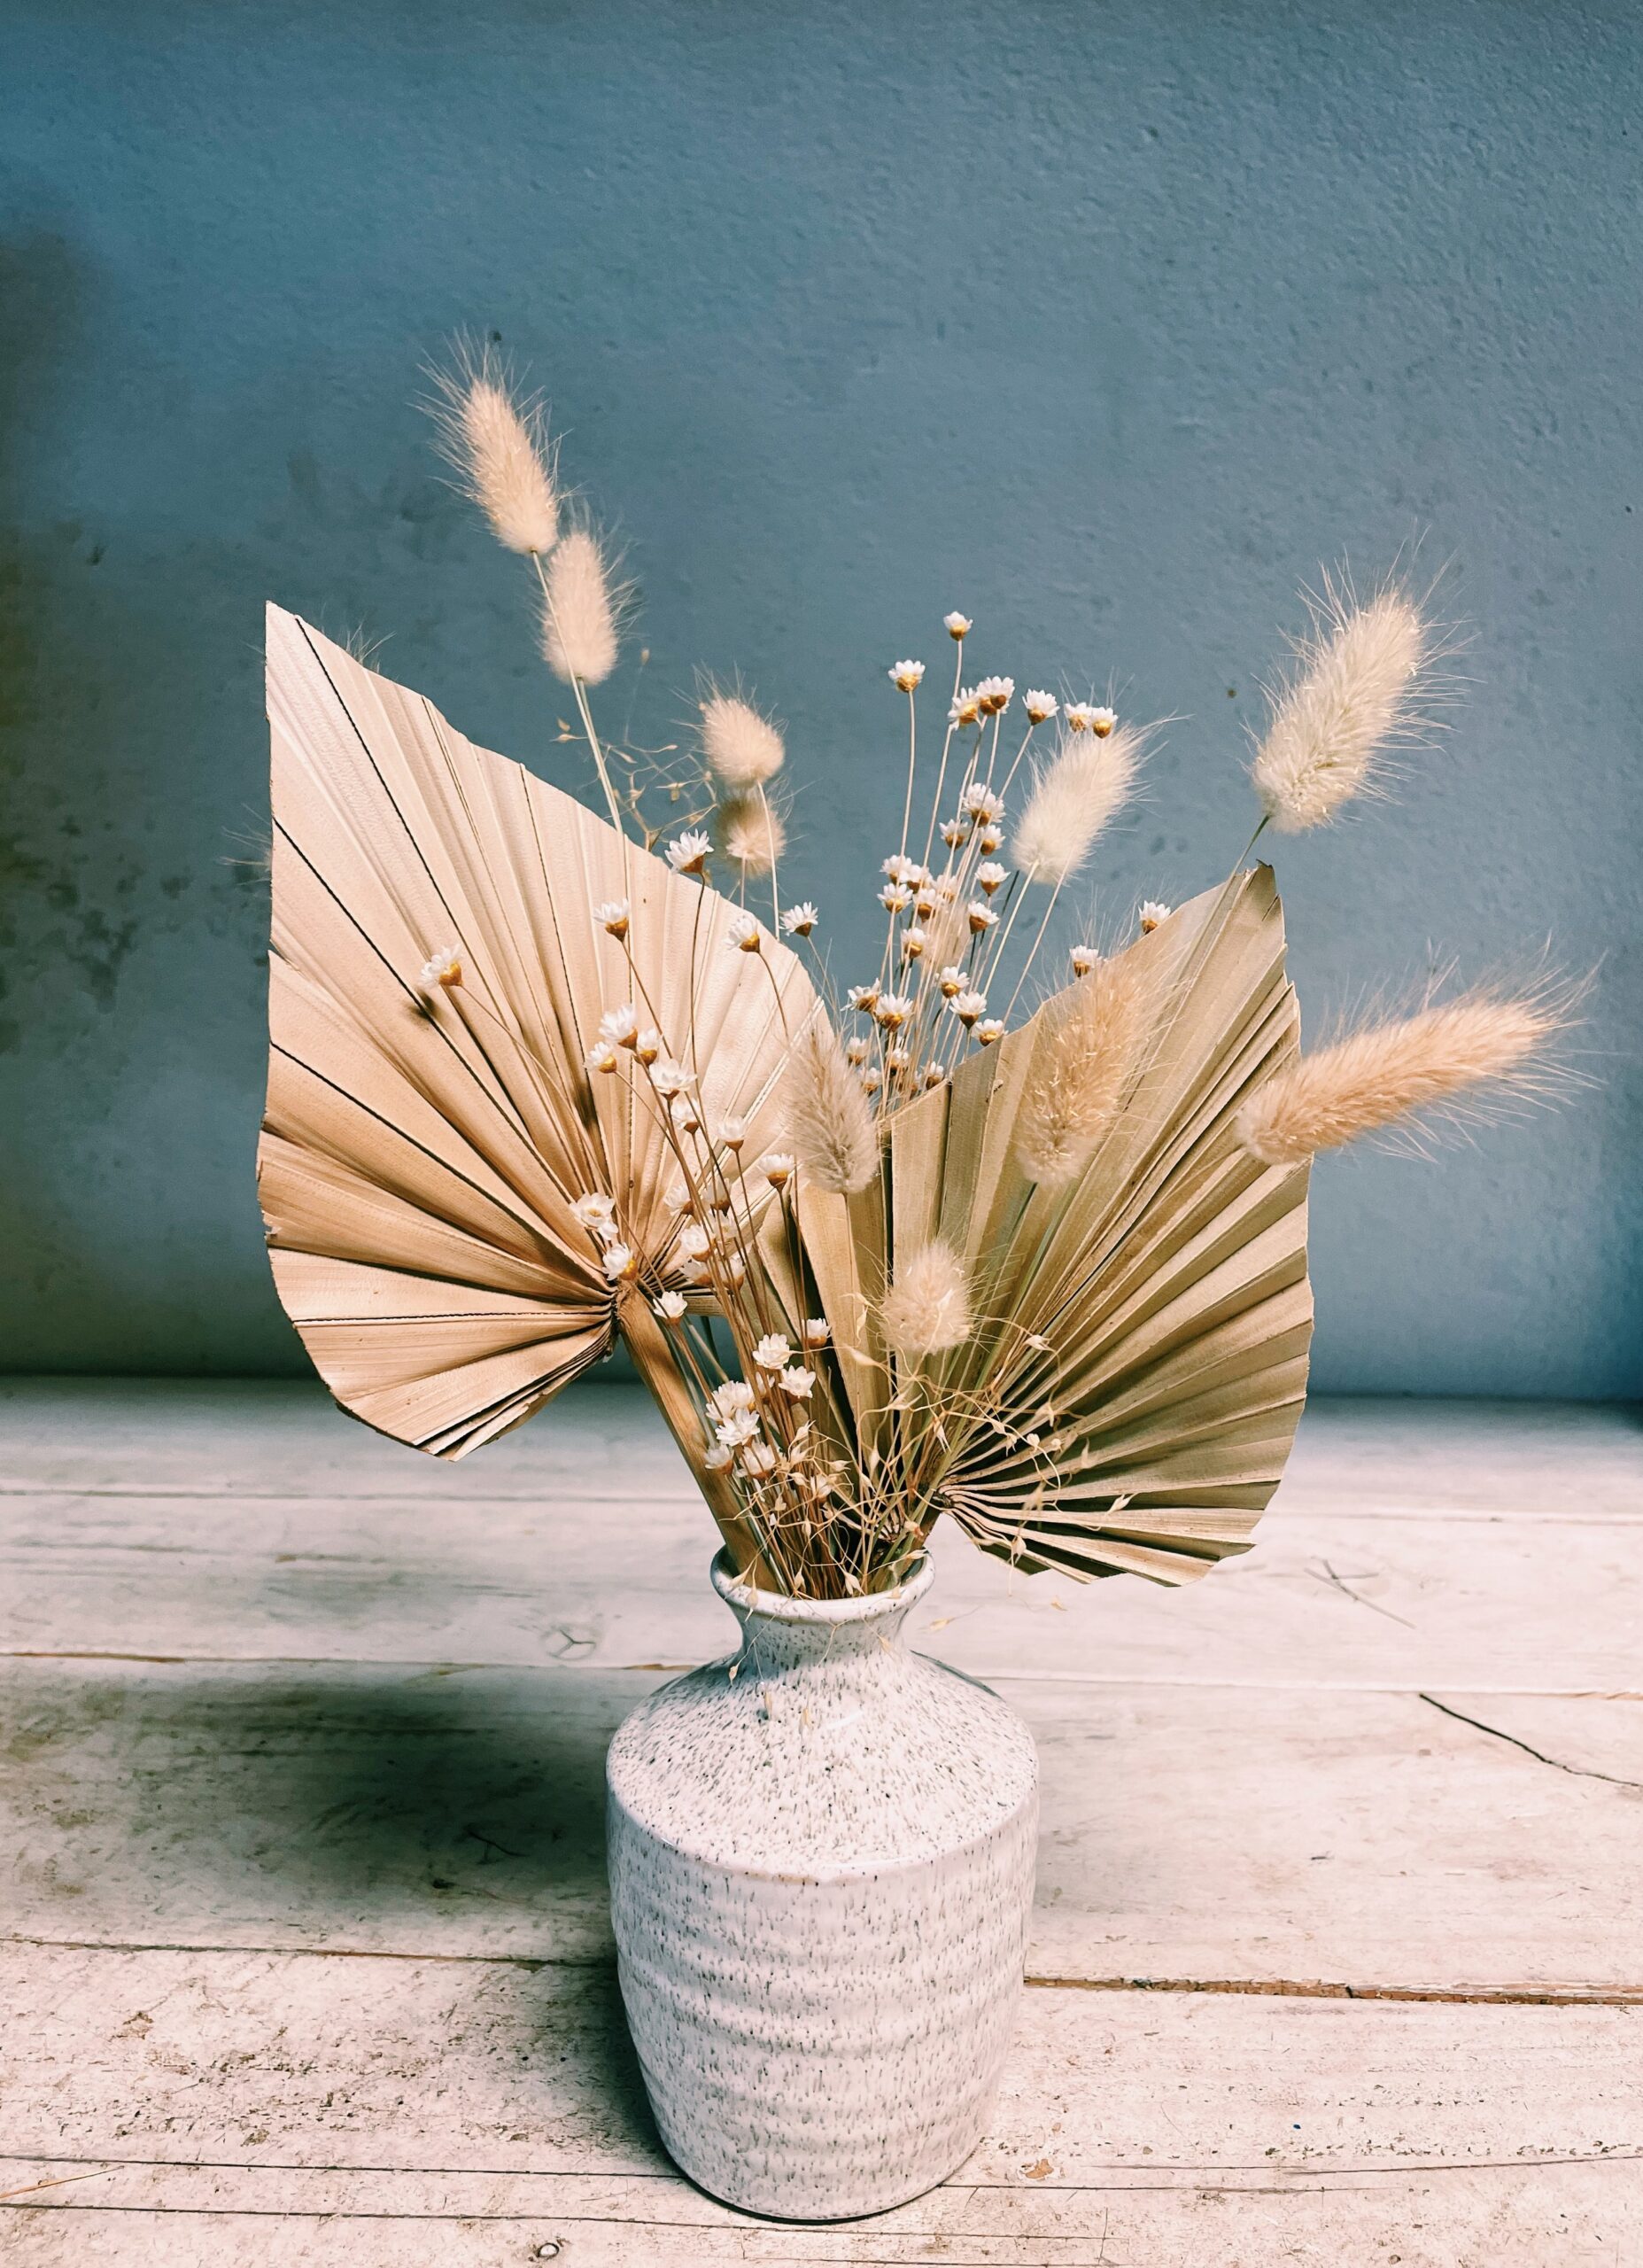
Today, I’ll be showing you a dried flower bud vase arrangement using a mix of bunny tail grass, dried palms and star flowers. These are all easy to find materials, you can get them online (Etsy, Dried Decor, etc…) or from a local florist shop or craft store like Michaels or Hobby Lobby. You can even pick things from your yard and dry them out in the sun for a few days. Ferns and palm leaves works great for this.
Gather some ingredients, and let’s move on to the next step.
Step 3 – design your arrangement


My favorite way to design is by making the arrangement in the vase vs making it in my hand and then placing it in a vase after it’s done. While both methods will work, I find that designing into the container helps the arrangement look more natural and like it was meant to be there the whole time.
Dried Flower Design
- For this design, I’ve chosen to use a ceramic bud vase.
- I’ll start with the palm leaves first, making sure they are cut at different lengths.
- Next I’ll add in a small bundle of star flowers, one in the front and a smaller one in the back.
- Last I’ll add in the bunny tail grass. I want to make sure they are all cut at varying heights, some taller, some lower, some to the front, others to the back.
- This arrangement is the perfect fall touch for our living room so I’ll be using it there.
Hope you enjoyed this quick and easy tutorial and that it inspires you to make a bud vase arrangement. They are a great way to brighten up anyone’s day because who doesn’t love flowers?!
Thanks for reading and please don’t hesitate to reach out if you have any questions or comments.
And don’t forget to leave a comment, I’d love to know your favorite vase/vessel to use for a bud vase arrangement.


